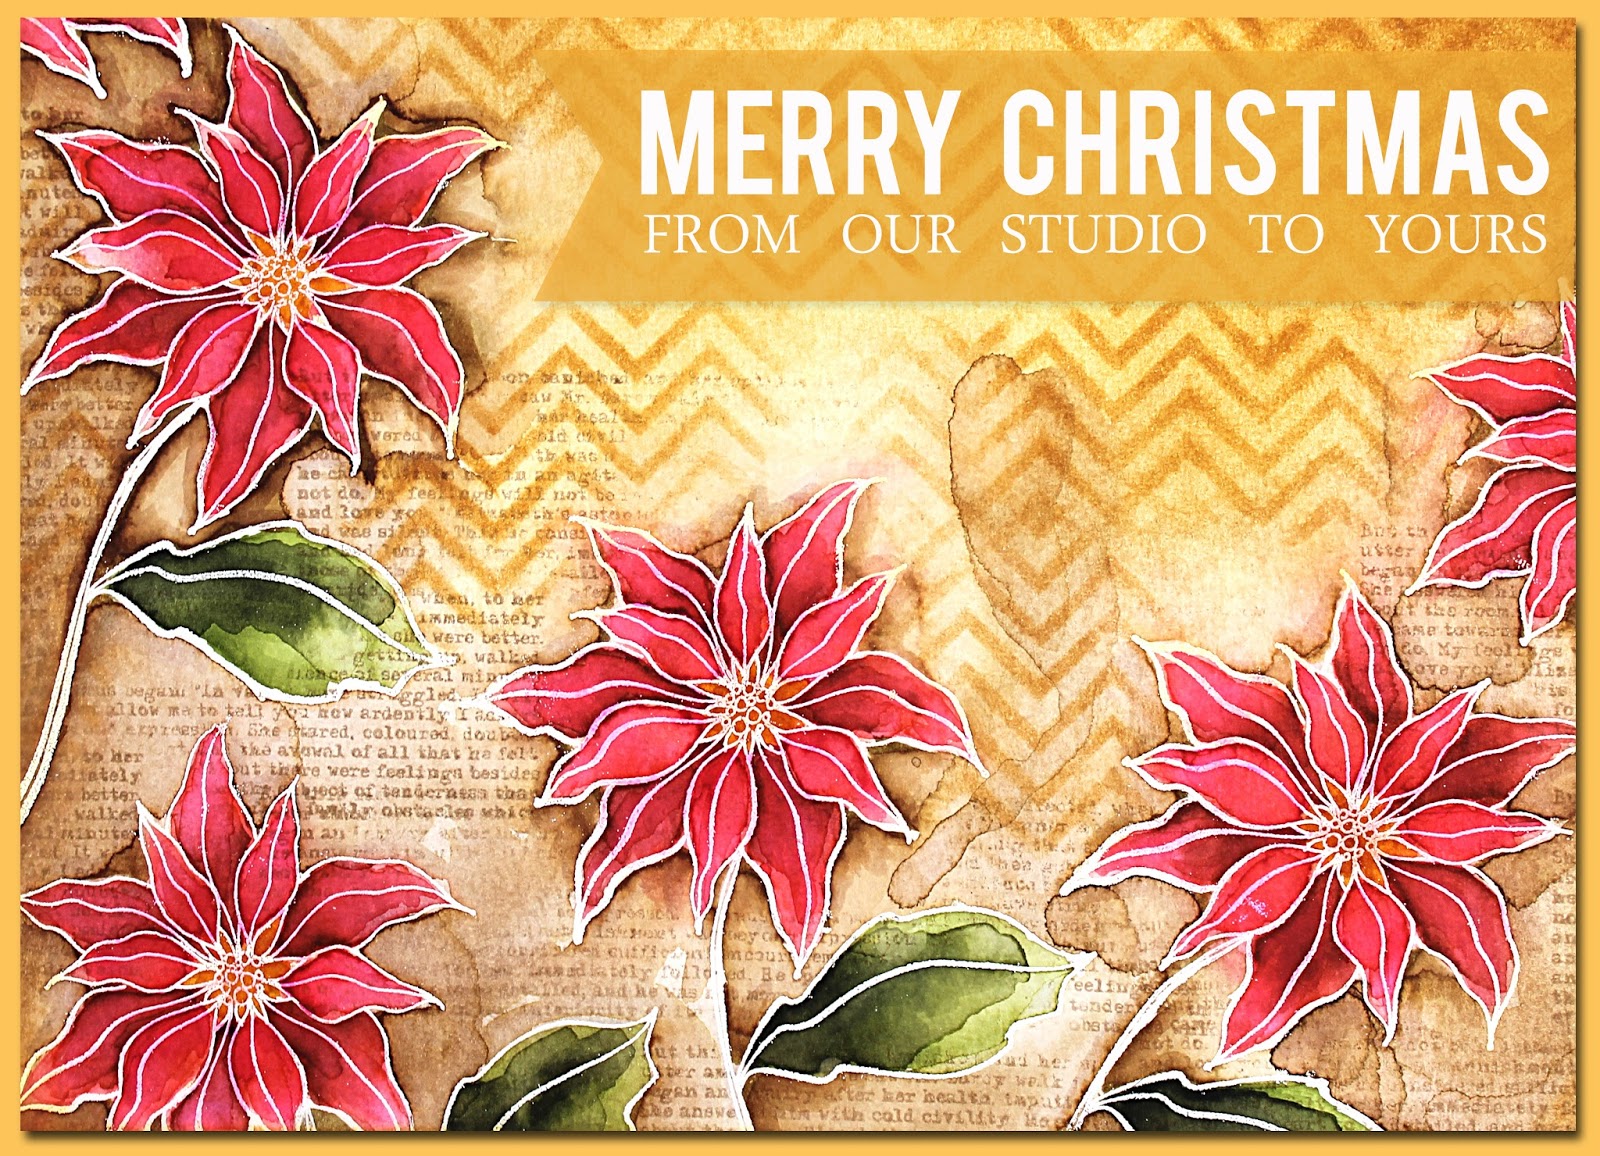
Merry Christmas & Happy New Year


The Studio is trimmed with pine and decorated in glowing lights in celebration of Christmas.  

Over the next few weeks, we will be sharing this time of rejoicing with our family and friends and would like to wish you a blessed holiday filled with love, hope and peace.

We look forward to seeing you in the New Year
 with more artful adventures.


Out & About with Elizabeth

Today I am 
and celebrating with 
the 12 Days of Trees!


Hop in your sleigh and join me at Inchie Arts (HERE) to see the tree I found hidden in their fabulous Art Squares.


Oh Christmas Tree; 2 of 2: Elizabeth

It's time to deck the halls and set up the Christmas tree!  Which tree is going in the STUDIO?  Penny Black's 40-344 Oh Christmas Tree, of course!


I am so excited to have this stamp as our feature this week.
I enjoy working this image so much!

Today I used Oh Christmas Tree as my focal point.

And decorated it with lots of watercolor and glitter.

I split the sentiment into two parts.  
One for an embellishment on the front and the second for a greeting inside.
For complete card instructions and supplies click HERE.

In the past, I have also used it as a background.
Instructions available HERE

And to add a patterned design on a die cut element.
Instructions available HERE

Oh, the possibilities!


Oh Christmas Tree; 1 of 2:Jill

It's time to deck the halls and set up the Christmas tree!  Which tree is going in the STUDIO?  Penny Black's 40-344 Oh Christmas Tree, of course!
I've already used this stamp in a more traditional way (check out that video HERE), so today I've decided to use the beautiful flourishes for the background stamping on my watercolor panel.
View the complete video tutorial for this card HERE.
Just for fun, I also used this stamp on a non holiday card, too. 
I can't wait to see what Elizabeth has done with this image.  It's sooo fun to share in a same-stamp artful endeavor!  And 40-344 Oh Christmas Tree is also being featured on the Penny Black blog last week- check it out HERE.

Out & About with Jill

I can't believe how lucky I am to be...
...as a guest for Ellen Hutson's 12 Tags of Christmas with a Feminine Twist event. Pinch me!

Here's a little peek at my tags...
Check out all of the details, including a photo tutorial, HERE.

Out & About with Elizabeth

Grab your glitters and pearlescent PanPastels 
as I am 

as a guest designer at 

Join me as we make snow with 
Penny Black's Creative Dies.
See you with all the fun details HERE.

Out & About with Jill

I am SUPER HONORED to be...
...as a guest designer for Virginia's View challenge!!
Here's a little peek at my projects.

Both were created with this month's challenge theme in mind.  Oh, how I love it!
I hope you will join in on the fun and play along.  Also, be sure to visit the post as I have a NEW PB&J video to accompany my creations AND a little birdie told me there is a great Penny Black giveaway, too!!

TWO Favorites; 3 of 3: Jill and Elizabeth

What's in the STUDIO this week? Two of our favorite things... Penny Black and Inchie Arts!

 We're both cooking up some artsy fun today.  AND in addition to Penny Black and Inchie Arts, we're also using beautiful new colors from Pan Pastel including Pearl Mediums (white fine, white coarse, black fine, black coarse), the Colorless Blender, and stunning Pearlescent (Violet, Orange, Red, Blue, and Green). 
For additional Pan Pastel information, be sure to visit their Website and Facebook page.

For my project I used 2 white ATC-sized Art Squares.  I applied Pan Pastels to the squares using Sofft sponges, creating a look of a sunset.  
Onto one of the Art Squares, I stamped branches (Penny Black 30-251 Nature's Gifts) using StazOn Ganauche ink.
 For the second ATC Art Square, I trimmed it into two pieces. On the larger of the two pieces, I stamped my sentiment (Penny Black 30-257 Joy Filled) using VersaFine Onyx Black ink. I adhered this piece below the panel with the branches and the smaller piece was adhered above the panel with the branches.
I embellished my card using Penny Black's Creative Die, 51-066 Crystal Trio.  Each snowflake was colored with Pan Pastels. I adhered the two larger snowflakes with dimensional adhesive and added a self-adhesive pearl to all three. A light coating of Krylon Matte Fixative Spray sealed all of the elements.  Once again, I love that I can use so many mediums with my Art Squares. 


For my project, I trimmed a 4" white Art Square into tag shapes. 


Using a large Sofft Art Sponge, the front of the tag was covered with Pan Pastel Colorless Blender and then Penny Black's Verdant stencil was secured on top using painter's tape.  Pearlescent Orange and Pearlescent Red Pan Pastels were applied to the flowers with a small Sofft Cover sponge.  I opted to hold the sponge rather than attach it to the applicator so I could have a little more control in the tiny areas.  The leaves were colored in Pearlescent Green and Permanent Green.  The soft background is Diarylide Yellow and Turquoise that were blended with a combination of Pearlescent Orange, Pearlescent Blue and White Fine Pearl Medium.

After the sentiment from Penny Black's Truly Great set (or Wishes in the second sample) was stamped in Onyx Black VersaFine, the piece was sprayed with Krylon Matte Acrylic Coating and then coated with Faber-Castell's gel medium.

Pearl gems, crystal rhinestones and May Arts ribbons accent the pieces. 


TWO Favorites; 2 of 3: Elizabeth

What's in the STUDIO this week? Two of our favorite things... Penny Black AND Inchie Arts!

Hello Friends! Today I am using Inchie Arts Art Squares to build a small box accented with handmade paper designed with Penny Black's stamps.
This marbled paper was created with Penny Black's Letter Background and Crystal Frame snowflake.

Here's a peek inside the box...
...which is filled with small watercolored Art Square tags/tiles. 

All these wonderful little gems are from the transparent set Tiny Treasures.

Be sure to check out the oodles of Penny Black/Inchie Arts inspiration being shared all this week on the Penny Black Blog!
(Psst:  They're also having a giveaway.)  

Like to read more about this project?  Click HERE.

You can also access complete instructions and supplies for the box HERE & the tags HERE.