Out & About with Jill

It's my turn to be...
...on the Penny Black blog sharing winter watercolor fun.
 

The PB&J video showing the creation of these two cards is available HERE
Thanks for stopping by the STUDIO... see you next week with more Autumn Splendor and Spooky Screams!

Out & About with Elizabeth

Hello Everyone...
Today I am 
in a Winter Watercolor Wonderland at


All the designers were challenged to design a winter watercolor scene and I immediately thought of snow-covered branches at sunset.


Knowing that I wanted to layer several applications of heat embossing, gel medium and watercolors, I chose to work on Inchie Arts Art Squares.

The first layer containing the watercolor artwork and Penny Black's Nature's Gifts is on a white ATC Art Square.

  In addition, the card base is made from two 4" white Art Squares!  

One of the 4" Art Squares was scored with a craft knife 1/2" from the top and then scored on the reverse side with a stylus.  This tab was glued the second 4" Art Square which created the card base and also allowed the card to be opened to view the inside sentiment/message.

I just love how sumptuous the Art Squares look layered together.  
A miniature piece of home decor!

To download the complete supply list and instructions for this project, click HERE.

Looking for additional Inchie Arts inspiration and projects?
Be sure to visit their BLOG and FACEBOOK page. 


Autumn Splendor & Spooky Screams; 6 of 8: Elizabeth

Fall has arrived and with it a whole new season of designs.  Join us as we enjoy the ever-changing leaf colors with Autumn Splendor and the approach of some frightful fun with Spooky Screams.


Preparing MONSTER hugs for Halloween!!

This was a frightfully fun "mash up" of  Penny Black stamps and dies.


Encircled was used as a stencil to create the moon with sponged Cantaloupe Memento ink.
The sentiment was stamped twice.  The first impression contained all the words inked in black.  The second impression was of the word "BIG" in Habanero VersaFine ink.  Black and orange Mix & Match Cardstocks made it a cinch to create a die cut fence and bat.

Frank has a few extra layers to give him dimension and a bit of Copic coloring.

Oh, and don't forget some googly eyes!!

[Supplies:  Penny Black: Spooky Wishes 40-333, Haunted Hollow 51-073, Boo Crew 51-075, Encircled 51-074, Mix & Match Cardstock: 01-001 Storm, 16-001 Fall Festival; Imagine Crafts/Tsukineko: Onyx Black VersaFine, Habanero VersaFine, Cantaloupe Memento, Clear Embossing Powder, Sponge Dauber; Copic Markers; 3M Scotch Dimensional Foam Tape; Other: Google Eyes]


Autumn Splendor & Spooky Screams; 5 of 8: Jill

Fall has arrived and with it a whole new season of designs.  Join us as we enjoy the ever-changing leaf colors with Autumn Splendor and the approach of some frightful fun with Spooky Screams.

Yes, the watercoloring addiction continues, my friends...
To create a bit of Autumn Splendor on this card, I began by stamping Penny Black 40-145 Pumkins (my all-time favorite pumpkin stamp) onto Canson 140 lb. watercolor paper using Ganache StazOn ink.  The image, sky, and background was painted primarily with Distress Markers, coloring first onto the paper and then blending with water.  I added a touch of Dr. PH Martin's Hydrus watercolors to the pumpkins for extra vibrancy. Once dry, I inked the edges of the watercolor panel with Potting Soil Ranger Archival ink using an ink blending tool and foam pad.  The text peeking out in the upper left hand corner is Penny Black's 30-238 Footnotes. Finally, I embellished with May Arts twine, a self adhesive pearl, and a die cut sentiment (Penny Black 51-071 Words of Gratitude).  

I hope you're having a blessed Autumn day!
Thanks for popping by the STUDIO. :) 

Out & About with Elizabeth & Jill

We are excited to be
at

Looking for creative ways to turn your holiday stamps into instant thank yous?  Join us as we transform images from Penny Black's new Winter Wonderland collection into cards of gratitude.


One of my favorite things about Penny Black's images is how versatile they are.

This medallion was created from Crystal Frame.  Whether it is positioned vertically or turned horizontally, it is beautifully portioned to hold a multitude of different sentiments.  And, would you have guessed that the background design was stamped with Oh Christmas Tree?!  Fabulous pattern for anytime during the year.

For additional project pictures and access to a link for instructions/supplies, click HERE.  


For my thank-you's, I used images from Penny Black's newest collection, Winter Wonderland, to paint four scenes.
I filmed the creation of all four cards, and you can view the video, along with a complete list of Penny Black supplies, HERE.


Autumn Splendor & Spooky Screams; 4 of 8: Jill

Fall has arrived and with it a whole new season of designs.  Join us as we enjoy the ever-changing leaf colors with Autumn Splendor and the approach of some frightful fun with Spooky Screams.

After those fantastic Spooky Screams from Elizabeth, I thought I'd better pop in with some Autumn Splendor today!
As you can see, I just can't stop watercoloring!  To create this card, I first stamped Penny Black's large background, 40-357 Autumn Dance, onto Canson 140 watercolor paper using StazOn Spiced Chai ink.  I painted the leaves using Dr. PH Martin's Hydrus watercolors.  I colored the background with a Vintage Photo Distress Marker and then added water to blend.  Next I die cut this painted background using Sizzix Susan's Garden Grid Works die (1 7/8 inch squares- product #658868).  This die is designed to coordinate with Inchie Arts Art Squares.  Once die cut, these squares fit onto 2" Art Squares, leaving the perfect tiny border around the outer edge.  I LOVE the dimension this gave to the card...
For additional Inchie Arts inspiration, visit their BLOG and FACEBOOK page.


Autumn Splendor & Spooky Screams; 3 of 8: Elizabeth

Fall has arrived and with it a whole new season of designs.  Join us as we enjoy the ever-changing leaf colors with Autumn Splendor and the approach of some frightful fun with Spooky Screams.


Is it a witch's spell or possibly fun-house mirrors that have this card twinkling with mischief?  
No hocus pocus here... just holographic embossing powder!

After stamping Pumpkin Tree on white cardstock it was trimmed to create a round card.  The image was then colored with a sponge dauber and Memento inks.  The whole design was pounced with a VersaMark Watermark ink pad and heat embossed with holographic embossing powder.  A second impression of Pumpkin Tree was used to created the elevated mound of grass.

The brave trick-or-treater is from the transparent set Glenda & Frankie.  A tiny bit of Copic coloring and a quick trim had this cute mummy ready to be placed in this sparkly scene.

Have a booo-tiful day!

[Supplies:  Penny Black: Pumpkin Tree 40-334, Glenda & Frankie 30-250; Imagine Crafts/Tsukineko: Memento Inks (Tuxedo Black, Cantaloupe, Love Letter, Grape Jelly), VersaMark Watermark Ink, Sponge Dauber; Copic Markers; Ranger: Holographic Embossing Powder; Scrapbook Adhesives by 3L]
  

Inchie Arts/CardMaker Blog Hop

Welcome to your next step in today's hop!  
We're honored to be in the company of the CardMaker and Inchie Arts designers creating projects with an autumn theme...think the beautiful colors of the changing leaves--oranges, yellows, reds, browns, golds.  Simply delightful!

We're both having fun here in the Studio so first let's take a peek at Jill's table.


I began my card with a 4" white Art Square.  I stamped my leaves (Penny Black 30-138 Foliage Fancy) using Spiced Chai StazOn ink.  I then painted the leaves using a mixture of Sakura Koi watercolors and Antique Linen Distress Stain. I added additional shading using PrismaColor pencils.  Finally, I stamped my sentiment (Penny Black 30-207 From the Heart) using VersaFine Onyx Black ink and added Gathered Twigs Distress ink along the outer edge of the Art Square. With the 4" Art Squares, I love that they are practically the card in themselves! To finish this off, I simply mounted the Art Square to my note card using dimensional adhesive and tucked  a pair of tags behind the Art Square.

Now let's take a peek at Elizabeth's table...


Inchie Arts Art Squares always spark me to think in 3-D. 

  Which inspired me to capture the colors of autumn for the home or office with a notepaper caddy.
  
Several gray ATC Art Squares were trimmed and glued together to create a small box.   

 The outside of the box was painted with white gesso, covered with text tissue using gel medium and then 
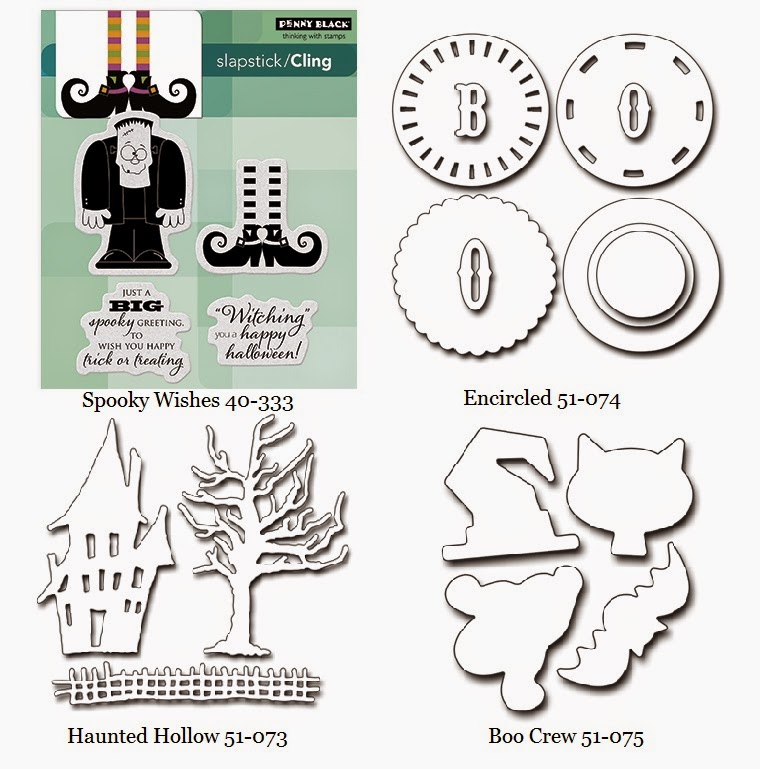
splashed with lots of watercolors.  Accents were created by coating a die cut border (Penny Black) with a melted Faber-Castell Paper Crafter Crayon and painting a die cut leaf (Penny Black) with gold acrylic paint. 

The thickness of the Art Squares lends wonderful dimension as well as a sturdy surface to add lots of liquid mediums. 
  
 I love the fact that the Art Squares are available in 7 colors.  The gray Art Squares gave the interior of this box a fabulous finish and eliminated the need for paint.  

[Supplies: Inchie Arts: ATC Art Squares (gray); Penny Black: Creative Dies - Dots & Swirls 51-035, Autumn Jewels 51-072; Imagine Crafts/Tsukineko: Delicata Golden Glitz Ink (top edging); Tim Holtz Idea-ology Tissue Wrap; Dr. Ph. Martin’s Hydrus Watercolors; Faber-Castell: Gel Medium; Liquitex: White Gesso; Other: Large Gold Brad, Gold Acrylic Paint]


Thanks for hopping by and Inching around!  
Your next inspirational stop will be Theresa Momber

And before you go... there's a GIVEAWAY!!! One commenter will receive 4 boxes of Inchie Arts products; the color and sizes of their choosing. Leave a comment on each blog, from now until Thursday, 10/16, for a chance to win.

Be sure to enjoy the full hop from start to finish...

Jill Foster & Elizabeth Allan (Studio Sessions - You are Here)  

We are getting ready to.... HOP!

We are gearing up for something fun this week.
We've got our...
...and are teaming up with CardMaker magazine, too! 
Oh, and of course, we also have an Autumn Splendor color palette as well. 
Stay tuned, artsy friends, stay tuned. :)